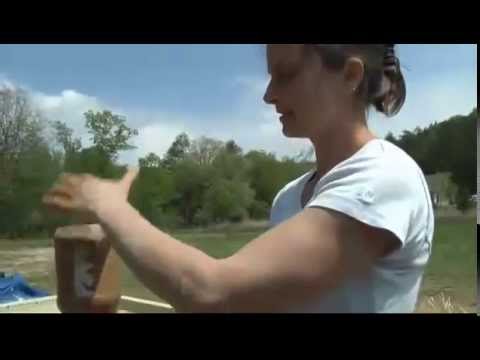
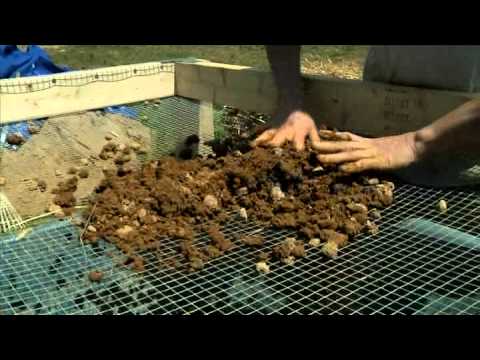
Part Two shows how to mix & install the cob thermal mass layer (no straw) and the insulating layer (lots of straw). Note that our soil was about 50% clay and 50% sand content. We want about 25% total clay, so we added an additional 2 parts sand for each 2 parts soil. Since the soil is already 50-50 sand-to-clay, the total is 1 part clay to 3 parts sand, or 25%. The thermal mass layer has no straw. This is the layer that gets hot and holds the heat from your fire. The second layer has tons of straw...basically as much as you can mix in. Straw is a good insulator, so the second layer helps hold in your heat.
For more information on cob ovens, I recommend Kiko Denzer's book "Build Your Own Earth Oven"...it's a complete "how to" including how-to sketches, list of tools, inspiring photos, and much more.
Part One shows how to prepare the base and dome mold for building a cob oven. This oven is 36" interior diameter, so the height of the interior is 75% of that, or 27" tall. The thermal mass layer is 4" thick, plus a 6" thick insulating layer over that, so the whole oven is 10" bigger than the fire cavity all the way around. The base is made with stones gathered from the site and held together with a clay + sand (cob) mortar. Also note, the primary reason to use firebrick is that they do not crack under the heat of a fire. For more information on cob ovens, I recommend Kiko Denzer's book "Build Your Own Earth Oven"...it's a complete "how to" including how-to sketches, list of tools, inspiring photos, and much more.
 Login
Login